

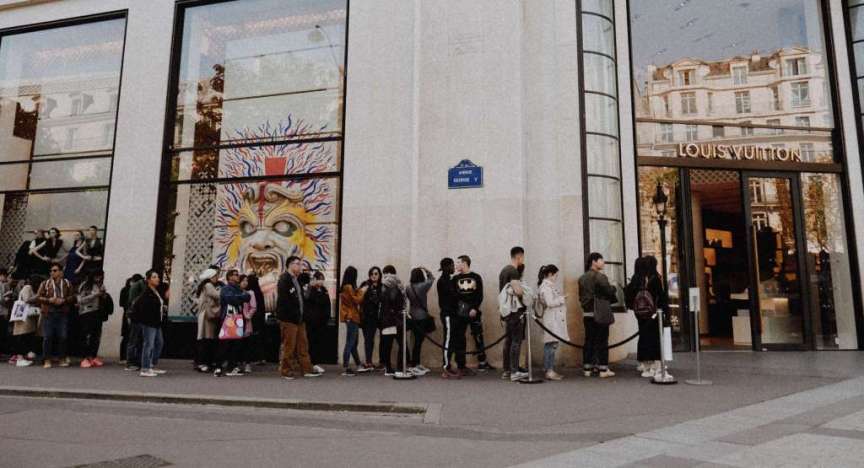
Normally, a line that stretches around the corner on a Saturday night would be a sign of a great event: a popular place everyone wants to visit. Now, it’s a sign of trouble: an event that can’t properly manage a crowd, or worse, one that doesn’t care about the safety of its guests.
Alleviate bottlenecks at your venue’s entrance and give guests more flexibility while they wait for their turn to enter with the newest Passage feature: Virtual Queues.
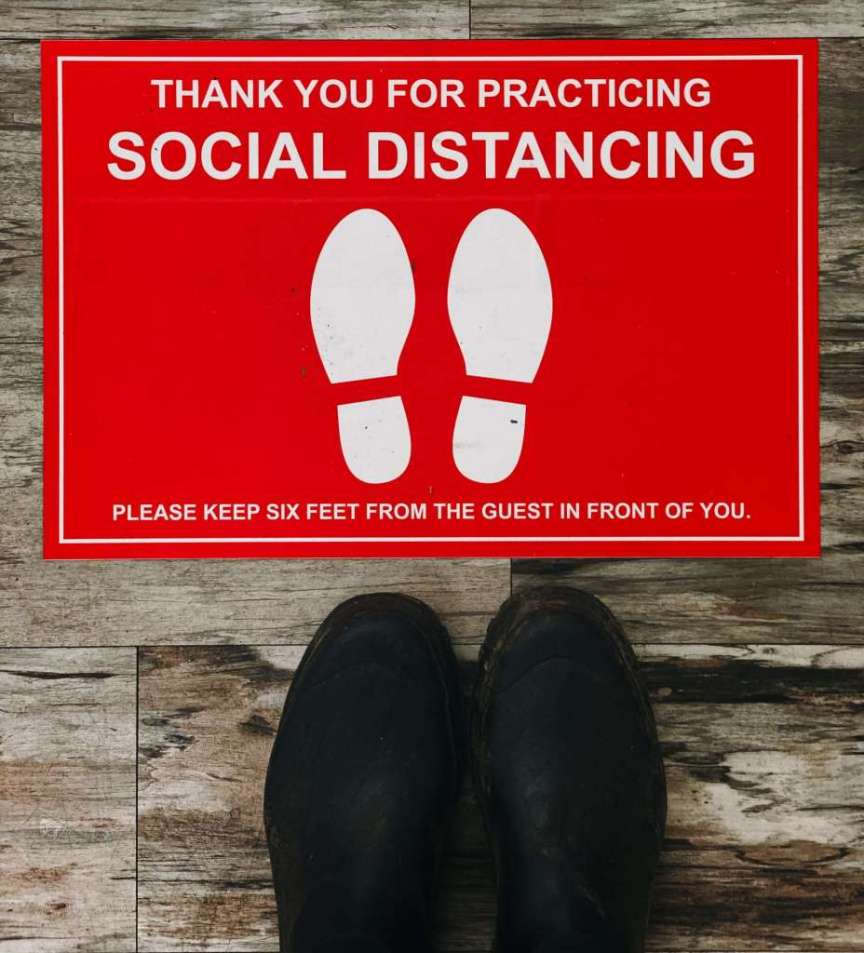
Virtual Queues are a necessity during this period of social distancing. They give you more control to manage the crowd flow at your event and help you maximize the (reduced) capacity of your venue without putting your staff or your guests at risk.
Here’s how Virtual Queues work, in a nutshell:
- When guests arrive at your event or venue, they’ll be “checked in” to your Virtual Queue.
- You determine how many guests you want to allow to enter your venue at a time.
- Guests are notified via SMS text when it’s their turn to enter. As they enter, you check them off the virtual queue, allowing the next group of virtual queuers to be notified.
Sign up for Passage now and we’ll set up your Virtual Queue for you!

Guests could be spending money at your venue instead of waiting in line.
Less time in line = more revenue opportunities
Many venues ask guests to wait in their vehicles while virtual queueing, which is a safe option. However, if your venue offers a midway, gift shop, outdoor concessions or other social distance-friendly zones, these are activities guests can enjoy while they wait for their turn and are opportunities for your business to earn more revenue. Guests standing in line are not spending money.
Want to learn more? Read on for details on setting up your Virtual Queue and how to use it at your event or venue.

Setting up your virtual queue
To set up a virtual queue open the “Select an Option” dropdown menu on your event, and choose “Virtual Queues” from the list. Then, click the “New Queue” button to open the setup page with the following fields:
- Name: For your identification purposes only, this field will not be seen by customers
- Added to Queue Message Text: Enter a custom message to send to the customer when they check-in and are added to the “Waiting” queue. By default, the message is “You are in the virtual line for [Event Name]. We’ll message you again once your turn is up!”
- Ready Alert Message Text: Enter a custom message to send to the customer when they are moved into the “Ready” queue. By default, the message is “It’s your turn to enter [Event Name]. Head to the entrance now!”
- Automatically keep ____ people in the “Ready” queue: Enter a number here to automate the process of moving groups from “Waiting” to “Ready”. This will move over the next group as soon as space is available, but the event staff can still override and manually move groups.
- Allow Guests to Check Themselves In: This option will allow guests to check themselves in from their ticket, meaning you won’t need staff to scan them in.
- Require Guest to Be At Venue Location To Check In: Use this option in conjunction with allowing guests to check themselves in if you want them on-site before they can join the “Waiting” queue.
Select Ticket Types to Include in This Queue
At the bottom of your queue’s settings, select the ticket types that will be added to this queue. If you have multiple attractions, this allows you to set up separate queues to handle each attraction by selecting only its ticket type(s).
Interested in setting up Virtual Queues for your venue? Set up a call with our support team. We’ll set everything up for you! There is ZERO cost to you: no monthly fees, no contracts, no surprises.


Using Virtual Queues during your event
To use a virtual queue, open the “Select an Option” dropdown menu on your event and choose “Virtual Queues” from the list. Then, click on the name of your queue from the list to open it. This takes you to a page with two lists: “Waiting” and “Ready“.
Guests are added to the Waiting queue when they are first checked in by scanning their ticket, checking them off the guest list, or using self-check-in. The queue shows the oldest check-ins at the top with the newest at the bottom, and includes the customer names and the number of tickets they have in their group.
You can manually move guests from the Waiting queue to the Ready queue, or set the queue to automatically keep a certain number of people in the Ready queue.
You’ll see these two options in the Waiting Queue:
- Checkmark Icon: Click the checkmark to move the guest over to the Ready queue.
- ‘X’ Icon: Click the ‘X’ to remove the guest from the waiting queue.
You’ll see these three options in the Ready Queue:
- Checkmark Icon: Click the checkmark when a Ready guest comes up to admit them into the event. Their name will disappear from the queue at this time.
- ‘X’ Icon: Click the ‘X’ to move the guest that has not shown up back to the “Waiting” queue.
- Bell Icon: Click the bell to resend the notification to a guest
Now, you’re ready to start using Virtual Queues at your event! Use your Virtual Queues:
- At the main entrance to your event or venue; or
- For each attraction within your venue
It’s up to you!
Need help setting up Virtual Queues or other features for your venue? Schedule an onboarding call with our support team and we’ll set everything up for you. There is ZERO cost to you: no monthly fees, no contracts, no surprises.